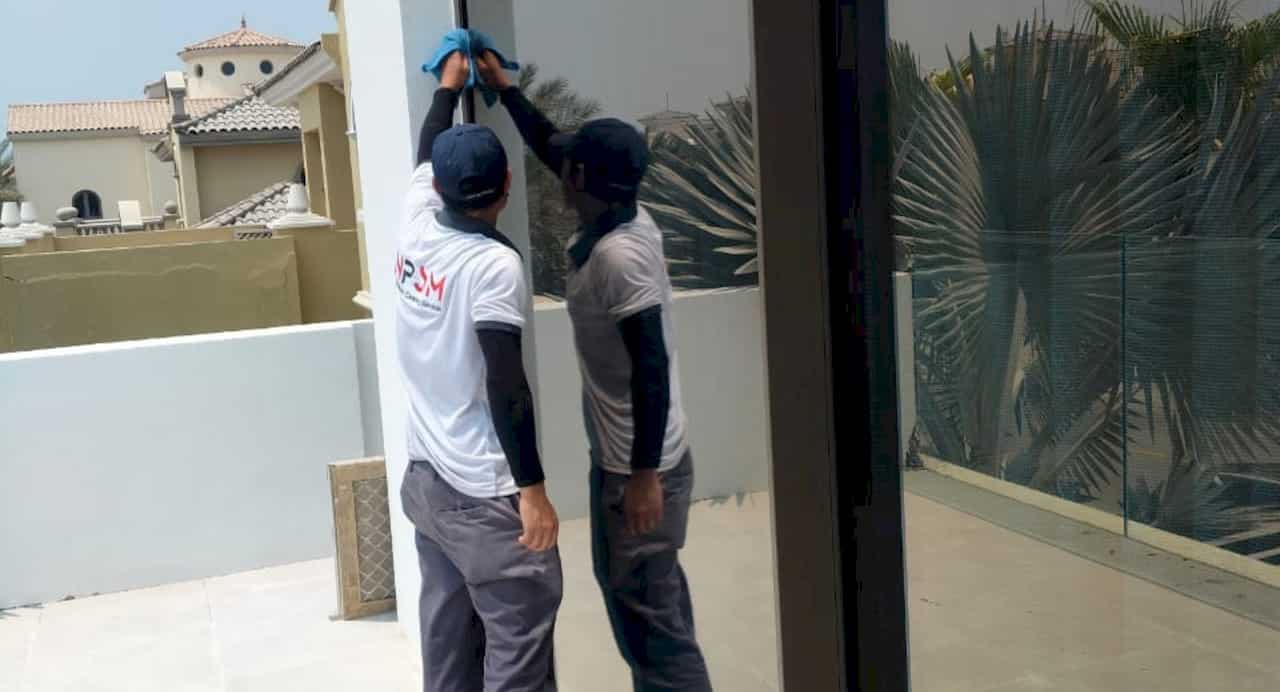
Deep clean a Dubai villa before a single box comes through the door. Once furniture is in, you can’t reach the cabinet interiors, window tracks, floor edges or AC vents. The right order is simple: air and ducts first, then high surfaces, kitchen and bathrooms, then floors last. This checklist walks through the whole villa, including the spots most lists skip, such as the maid’s room, the staircase, the garden-facing doors and the roof-level storage.
Specializedcleaning
Move Into a Cleaner Villa
Specializedcleaning provides professional deep cleaning for Dubai homes, helping prepare your villa before the furniture and boxes arrive.
A new villa can look clean and still not be. Previous tenants, snagging crews, painters and months of vacancy all leave residue that is invisible from the doorway: grease inside extractor hoods, limescale under taps, paint flecks on window frames, fine dust in drawer runners and AC grilles.
A villa is also simply bigger than an apartment. Two or three floors, a staircase, multiple bathrooms, a kitchen that may have a separate prep area, a maid’s room, a terrace or garden doors. Each adds surfaces that have to be done in the right sequence, or you end up re-cleaning the ground floor after dust drops from upstairs.
There is a practical side too. In Dubai, the landlord’s duty at handover is set out in the Dubai Land Department’s Tenancy Guide: the property should be handed over in good condition that allows full use as stated in the tenancy contract, and the party responsible for maintenance should be identified. If something is not right on day one, you want to know that before you scrub over it.
Before you clean: handover, utilities and timing
Check the handover condition first
Walk the villa with your contract in hand and photograph everything: marks on walls, floor chips, stained grout, cabinet damage, the state of AC units. Note anything that is a repair issue rather than a cleaning issue. Cleaning will not fix a cracked tile, and you don’t want a landlord claiming later that you caused it.
If you are unsure what to verify at handover, these property handover checks give a useful framework for confirming condition and responsibilities before work begins. Then ask in writing who covers maintenance for the AC, plumbing and appliances, as the Tenancy Guide says this should be identified.
Get the power and water on
Cleaners need running water and electricity, and you need them anyway. DEWA lists a security deposit of AED 4,000 for a residential villa, plus AED 125 for a small-meter or AED 300 for a large-meter connection, plus AED 10 each for registration and for knowledge and innovation fees, with supply connected within 15 working hours after payment, per its move-in activation page. Check the page for current amounts before you pay. Activate early so the cleaning team is not working in the dark with no water.
When to schedule the clean
The best window is after handover and any snagging or repair work, and before furniture arrives. Aim for two to three days before moving day if you can. That leaves a buffer to redo a missed area and lets floors fully dry. If painters, carpenters or AC technicians are still due, clean after them, not before, or you will pay twice.
What you need on hand
Whether you clean yourself or help a team, gather the basics:
Microfiber cloths in several colors (kitchen, bathroom, general), so you don’t cross-contaminate
A vacuum with a brush and crevice attachment
A mop, bucket and a soft scrub brush for grout
A non-scratch scouring pad and a plastic scraper for paint and sticker residue
A descaler suitable for taps and shower glass
A degreaser for the hob, hood and oven
Glass cleaner and a squeegee
Gloves, a mask and bin bags
A step ladder for ceiling fans, vents and top cabinets
When buying products, stick to ones sold through normal retail. Dubai Municipality’s technical guidelines for detergents state that detergent products must be registered before they are placed on the Dubai market and must not harm human health under normal or foreseeable use. Never mix bleach with acidic descalers or ammonia-based products, and ventilate every room you work in.
The villa deep cleaning checklist, step by step
Work in this order. Each stage drops dust and drips downward, so each next stage cleans up after the last.
Step 1: Air, AC vents and filters
Start here, because the AC system moves air through the whole villa. Open all windows, turn the AC off, then:
Remove and wash or replace the filters in every indoor unit
Wipe grilles and diffusers inside and out, using a vacuum brush on the slats
Wipe the exterior of each unit and the wall or ceiling around it
Check the thermostat and drain area for dust, residue and staining
Look into the duct opening with a flashlight: visible dust, debris or paint fragments mean the ducts need professional attention
This matters for more than comfort. Dubai Municipality’s Green Building Regulations require HVAC duct and equipment inspection and cleaning to follow approved standard specifications, and stress keeping ducts clear of construction-related contaminants. A villa that has been recently built, renovated or left empty is the likeliest to have this problem. Our HVAC duct cleaning service uses specialized equipment designed for this job, and it is far easier to book it before you move in than after.
Step 2: Ceilings, fans, lights and walls
Dust ceiling fans blade by blade, then wipe motor housings
Wipe light fittings, recessed spots and the tops of door frames
Dust corners and cornices for cobwebs
Spot-clean walls from top to bottom, starting with switches, sockets and door handles
Wipe skirting boards along their full length. Run your hand along them to check
Don’t scrub painted walls hard. Fresh paint can mark or lift. Use a barely damp cloth and test a hidden patch first.
Step 3: Windows, tracks and sliding doors
Villas have far more glass than apartments, and Dubai dust packs into aluminum tracks.
Vacuum the tracks, then clean with a damp cloth and a small brush
Clean glass inside and out, using a squeegee top to bottom
Wipe frames, sills and curtain rails
Check balcony and garden door tracks and the runners of any sliding wardrobes
Remove sticker residue and paint splatters carefully with a plastic scraper, never metal on glass
Step 4: Kitchen
The kitchen is where unseen grime does the most harm. Do not store a single plate before you finish it.
Empty, vacuum and wipe the inside of every cabinet and drawer, including drawer tracks and hinges
Wipe the cabinet fronts, handles and the tops of wall units
Degrease the hob, hood, filters and the wall behind them
Clean the oven inside and out, including racks and door seals
Clean the dishwasher, filter and door seal, then run an empty hot cycle
Clean the fridge inside, wipe the seals, then run it empty for a few hours before you stock it
Wipe the microwave, countertops and splashback
Descale the sink and tap, and flush the drain with hot water
Check behind and beneath the appliances if you can move them safely
If there is a separate maid’s kitchen or pantry, treat it the same way.
Step 5: Bathrooms and toilets
Descale taps, shower heads, glass screens and the tub
Scrub grout lines with a soft brush and a suitable cleaner. Dark or hazy grout is common after construction
Clean the toilet fully: cistern top, base, behind the seat hinges
Wipe mirrors, shelves, cabinet interiors and the vanity underside
Clean exhaust fan covers and floor drains
Run the water in every outlet for a minute to flush stale water from the lines
Villas usually have three to six bathrooms, including guest toilets and the maid’s bathroom. Keep a checklist per bathroom so none gets skipped.
Step 6: The spots villas hide
This is where generic apartment lists fall short:
Maid’s room and bathroom: wardrobes, vents, window tracks, floor corners
Staircase: each tread and riser, the handrail, balusters and the corners where dust gathers
Storage and laundry rooms: shelves, wall corners, the washer connections and the drain
Built-in wardrobes: interior shelves, rails, back panels and drawer runners
Garage and driveway: sweep out, wipe shelving, check for oil stains
Balconies, terraces and garden doors: sweep, wash down, and clean outdoor tracks
Roof and water tank area: access is often restricted; ask about it, since tank cleaning and disinfection is a job for specialists
Step 7: Floors, last of all
Floors go last because everything above them drops onto them.
Vacuum every floor, edges and corners first
Mop tile with a neutral cleaner suited to the surface
Treat marble, wood or vinyl in line with the material. Do not use acidic products on marble
Scrub dirty grout lines
Let the floors dry fully before you walk on them with anything heavy
If marble is dull, scratched or stained, or a wooden floor looks tired, polishing and restoration are separate from cleaning. Our floor restoration and polishing team handles marble, vinyl and wood, and it is far simpler to do before furniture is in.
If the villa was recently built or renovated
Post-construction dust is a different problem from ordinary dirt. It is fine, it travels, and it settles in places a cloth won’t reach: inside ducts, behind skirting, in cabinet tops, in light fittings and window channels. Common leftovers include:
Cement and plaster dust as a pale film on surfaces
Paint splatters on glass, tiles, frames and fixtures
Silicone and adhesive residue around sinks, tubs and tiles
Grout haze on new tile
Stickers and protective film still on fixtures
Tackle it in this order: dry-vacuum first (a good vacuum, not a broom, which just redistributes dust), then damp-wipe, then wet-clean. Never wet dust first, as it turns into a paste that smears. Change vacuum bags or empty canisters often.
Heavy residue is where a professional team earns its fee, as industrial vacuums and the right scraping and polishing tools save days of work and protect finishes. See our guide to post-renovation villa cleaning and hidden dust removal for how this works in practice.
DIY or professional? A quick comparison
Factor
DIY clean
Professional team
Time for a multi-floor villa
Often several days of long work
Usually completed in a short window, scaled by team size
Equipment
Household vacuum, cloths, basic products
Industrial vacuums, machines for floors and grout, ladders
Hard residue (paint, cement, silicone)
Risk of scratching or missing it
Handled with the right tools and methods
AC ducts
Only filters and grilles are reachable
Inspection and cleaning of ducts
Cost
Supplies only
Quoted per villa size and scope
Best for
Smaller, lived-in, lightly used villas
Large, new, renovated or long-vacant villas
Some people split the job: a professional crew for ducts, floors, windows and heavy residue, then their own team for final wiping and shelving. That is a perfectly sound plan if the budget is tight.
How we approach a villa move-in clean
We have worked in Dubai for over 15 years, and most of the problems we see in a new villa are the same ones every time: dust in the AC system, grease inside kitchen units, hazy grout, and tracks full of fine sand that no one thought to check. Our staff are licensed and insured, and our work is built around a few habits:
We start with a free consultation, so the scope matches the villa and not a generic package
We clean in the order dust falls: ducts and vents, high surfaces, kitchens and bathrooms, then floors
We separate cleaning from restoration, so you know whether a stained floor needs a cleaner or a polisher
We can often schedule the same day when your handover and move-in dates are close
Our honest advice: spend the money where you cannot do the job yourself. That is ducts, heavy post-construction residue and floor restoration. The wiping and shelving you can always do after.
— Qadir
Book a villa deep clean before you move in
If you want the checklist above done for you, our deep cleaning services cover move-in and move-out cleaning, post-construction cleaning and villa deep cleaning across Dubai. Contact us for a free consultation and we’ll scope the villa, agree the work and fit it between your handover and your moving date. For a full breakdown of what a villa clean involves, read our guide to villa deep cleaning in Dubai.
Final walk-through before the movers arrive
Before furniture goes in, do one last pass with a flashlight and a checklist:
Run every tap, flush every toilet and check for leaks or odd smells
Switch the AC on in each room and confirm good airflow with no musty smell
Open every cabinet, drawer and wardrobe and look for leftover dust or marks
Check window tracks and door tracks again
Look at floors in side light, which reveals streaks and missed patches
Photograph the finished condition, so you have a record from day one
When you eventually leave, the same approach works in reverse, and our move-out cleaning checklist helps you protect your deposit.
FAQ
Do I need to deep clean a villa before moving in?
Yes, in almost every case. A villa that has been vacant, renovated or newly built carries dust and residue that you can’t reach once furniture is in. Cleaning it empty is faster, safer for finishes and lets you start with a clean AC system and clean cabinets.
How long does it take to deep clean a villa?
It depends on size, condition and team size. A multi-floor villa with several bathrooms can take a person days on their own, while a professional team works in parallel. A post-construction villa takes longer than one that is simply vacant. A free consultation lets us give a realistic timeframe for your property.
What should I clean first in a new villa?
Start with the AC filters, vents and ducts, then ceilings and walls, windows, kitchen, bathrooms, and finally floors. The order matters because dust and water move downward. Cleaning floors first means doing them twice.
Should I clean the AC ducts before moving in?
If the villa is newly built, recently renovated or has been empty for a long time, it is worth having the ducts inspected. Dubai Municipality’s Green Building Regulations call for HVAC duct inspection and cleaning to follow approved specifications. Before moving in is the easiest time, because the rooms are empty and access is clear.
What cleaning supplies do I need for a new villa?
You need microfiber cloths, a vacuum with attachments, a mop, a soft brush for grout, a de scaler, a degreaser, glass cleaner, gloves and a step ladder. Use registered products bought from normal retailers, and never mix chemicals.