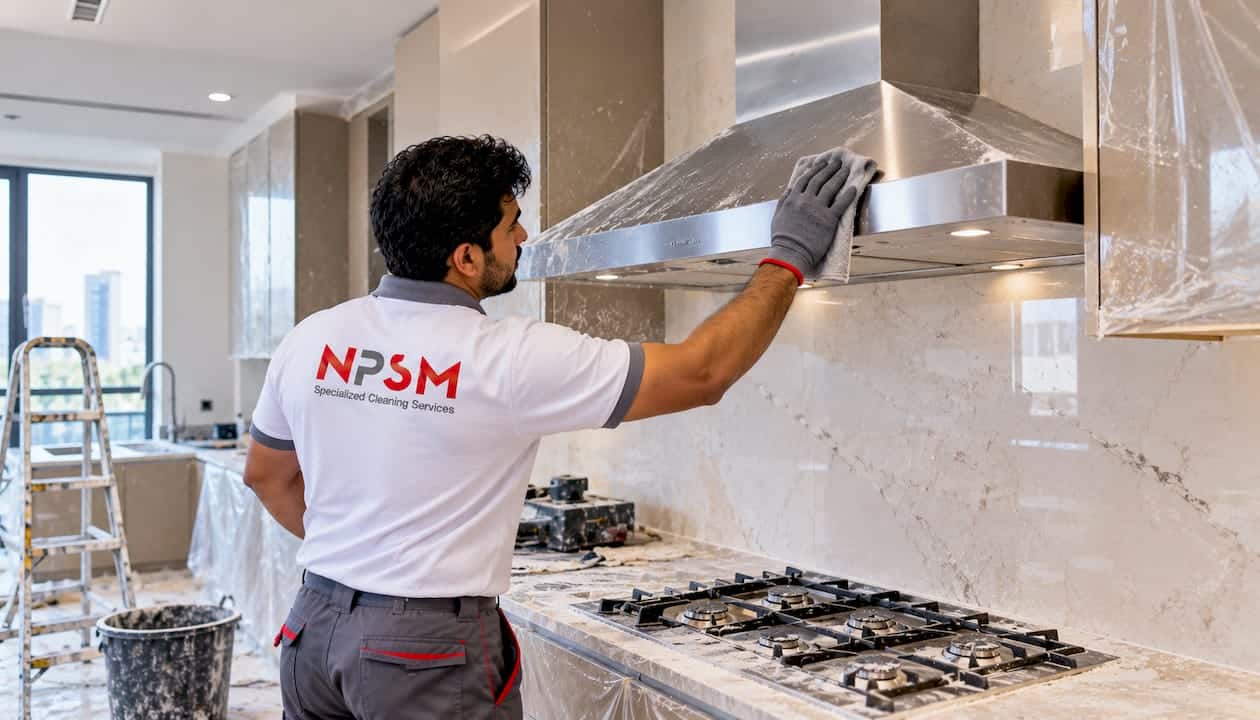
A kitchen renovation leaves three different kinds of mess, and each needs a different method. Grease is organic and needs a degreaser. Construction dust is fine, mineral and gets everywhere. Adhesive residue from tile glue, silicone, protective films and stickers needs a solvent chosen for the surface it sits on. Use the wrong product on the wrong layer and you smear, etch or dull a brand-new finish. Clean in the right order, with the right product per surface, and the kitchen is ready for use rather than merely looking finished.
This guide is written for Dubai homeowners, tenants, villa and apartment managers and renovation contractors who need a kitchen handed over clean.
Specializedcleaning
Get Your Renovated Kitchen Ready
Specializedcleaning provides professional cleaning for homes and businesses in Dubai, including post-construction cleaning for renovation handovers.
Treat grease, dust and adhesive as three separate jobs. Work top to bottom and dry before wet: dust first, then grease, then adhesive, then a final damp pass.
Grease comes off with warm water and dish soap or a purpose-made degreaser. Vinegar and ammonia can dull finished wood, so keep them away from cabinet doors.
Adhesive needs a solvent matched to the surface. A wrong choice can cause peeling or etching on painted metal, glass or stone, so test a hidden spot first.
Dust in Dubai settles again if the ducts, vents and extractor are not cleaned too. Book the final clean after the trades have left.
Why a renovated kitchen is harder to clean than a lived-in one
A normal kitchen collects a thin, even film of cooking oil and dust. A renovated kitchen collects something more mixed. Sanding, cutting and chasing produce fine dust that lands on every horizontal surface, inside cabinets and on top of wall units. If an old kitchen was partly retained, that dust sticks to a layer of old grease and becomes a paste that smears when wiped dry.
Then come the products of the fit-out itself: tile adhesive and grout haze, silicone smears at worktop joints, strips of masking tape, protective film on appliances and glass, and labels on new hobs and sinks. Each one is a different material with a different weakness.
Residue
What it is
What works
What to avoid
Grease and cooking film
Organic oils, often mixed with dust
Warm water with dish soap, or a degreaser, then a clean rinse cloth
Abrasive pads on finished surfaces
Construction dust
Fine mineral and wood particles
HEPA or fine-filter vacuum, then damp microfiber
Dry sweeping or dry dusters that lift it into the air
Adhesive, tape and label residue
Glues, silicone, film backing
Peel off bulk first, then a surface-matched solvent, tested on a hidden spot
One strong solvent on every surface
Grout haze and cement film
Thin mineral layer on tile
A tile-safe acidic cleaner used correctly, or professional treatment
Acids on natural stone
The right order of work
Order matters more than product choice. Cleaning in the wrong sequence means doing everything twice.
Remove loose debris and protective materials. Take off dust sheets, floor protection and offcuts. Fold sheets inward so the dust stays inside.
Vacuum high to low. Start with the tops of wall units, ceiling edges and light fittings, then shelves, then countertops, then the floor. Use a vacuum with a fine filter. A standard bag-less household machine can blow fine dust straight back into the room.
Empty and clean inside cabinets and drawers. Dust gets in during installation even when doors are closed.
Degrease. Work on cabinet fronts, splashbacks, hob surrounds, extractor exterior and handles.
Remove adhesive and residue. Do this after degreasing, because oily surfaces make adhesive spread and cling.
Clean glass, steel and stone with their own products.
Mop or machine-clean the floor last.
Final damp wipe of every surface, then air the room.
Grease is the easiest of the three if you stay gentle. For routine degreasing, experts recommend warm water and liquid dish soap on a microfiber cloth or non-abrasive sponge. That is the right start for new cabinets too, because many factory finishes are glossy and easy to scratch.
Where grease hides after a renovation
Cabinets retained from the old kitchen. Their fronts and the tops of wall units carry years of fine film.
The extractor hood and its filters. If the hood was removed and refitted, check the filters and the exterior.
Tiles and grout lines near the hob, where oil mist settles.
Handles and edges, where hand oils add to cooking oil.
Product choices by surface
Painted or lacquered cabinets: dish soap and water, rinsed and dried. Cabinets accumulate a microscopic film of cooking oils, dust and hand grime, which is why they need more than a quick wipe if you intend to repaint.
Wood veneer or real wood: avoid vinegar and ammonia products, which can dull the finish.
Stainless steel: a degreaser, then wipe along the grain.
Tile and grout: a stronger alkaline degreaser is fine, followed by plenty of clean water.
TSP (trisodium phosphate) is still used by painting trades as a degreasing step before priming, as discussed by professional painters. It is a strong chemical. Wear gloves and eye protection, ventilate, and do not use it on surfaces you have not tested.
One point from professional practice is worth copying at home: clean first to remove organic material, and only then disinfect if you need to. A disinfectant sprayed onto a greasy surface does little.
Removing construction dust
Dust is the problem people underestimate. It looks gone after one wipe, then reappears on the counters the next morning. In Dubai’s air-conditioned homes the reason is often the ventilation system: dust drawn into vents and ducts during works is blown back out every time the AC runs. We cover this in detail in why construction dust keeps coming back after cleaning.
Practical steps for the kitchen:
Cover or tape supply and return vents while sanding or cutting continues.
Vacuum, then damp-wipe. Never dry-wipe fine dust across a polished surface, because it scratches.
Change the cloth often. A cloth loaded with dust is just a way to move it.
Check and clean the vent grilles and the nearest duct runs. Dubai Municipality publishes technical guidelines for indoor air quality for air-conditioned buildings, and clean ductwork is part of keeping that air healthy.
Adhesive is where most damage happens. A kitchen has painted metal, glass, natural and engineered stone, laminate, wood and stainless steel within arm’s reach of each other, and no single solvent suits all of them. Professional cleaners treat grease and adhesive as separate problems because removing adhesive needs a solvent chosen for the specific surface.
Start with peeling, not solvent
The gentlest method is mechanical. Lift tape, labels and film at a low angle, slowly, and warm stubborn film briefly so it releases in one piece. Starting adhesive cleanup with peeling rather than solvents leaves far less residue for chemicals to dissolve and protects the finish beneath. A plastic scraper or an old card removes beads of dried glue without scratching.
Then match the solvent to the surface
Surface
Typical residue
Safer approach
Glass and mirror
Stickers, film, silicone smear
Plastic scraper with soapy water, then a glass-safe solvent; a razor blade only on glass and only flat
Stainless steel appliances
Protective film glue
Warm soapy water, then a small amount of mild solvent on a cloth, wiped with the grain
Painted or lacquered cabinets
Tape marks
Warm soapy water first; test any solvent on the inside of a door
Natural stone worktops
Silicone, adhesive
No acids or harsh solvents; seek professional advice, since stone can etch
Ceramic and porcelain tile
Tile adhesive, grout haze
Plastic scraper, then a tile-safe cleaner suitable for the tile type
Laminate and vinyl floors
Tape, spilled glue
Gentle solvent on a cloth, never poured on, as it can seep into seams
The test-patch rule
Before any solvent touches a visible surface, test it on a hidden spot such as the back of a door or under a shelf lip. Wait several minutes, wipe, and check for softening, dulling or colour transfer. A test that takes two minutes can save a door replacement.
Silicone is its own case
Thin silicone smears at sink and worktop joints are common. Cured silicone does not dissolve in everyday cleaners, and rubbing spreads it. Remove the bulk by cutting or peeling, then treat the remaining film with a silicone remover suitable for the surface. A good joint should be redone cleanly rather than polished over.
Doing it yourself or hiring a team
A small kitchen with light dust and a few stickers is a reasonable weekend job. Deep cleaning tasks on a single kitchen can take up to an hour depending on its size, but a post-renovation clean is more than that, since the dust and adhesive work comes first.
Do it yourself if:
the renovation was cosmetic (paint, new doors, a new splashback);
you only have light dust and a few labels;
all surfaces are standard laminate, ceramic or stainless steel.
Bring in professionals if:
the whole kitchen was rebuilt, with tiling, stonework or joinery;
you have natural stone, lacquered or veneered finishes you cannot afford to damage;
dust has reached the ventilation, the extractor or the ceiling void;
you are handing over to a tenant or buyer, or you are a property manager with several units and a deadline;
you need the kitchen sanitized as well as visibly clean.
Pest prevention. Under Dubai’s public health local order, an owner or contractor is responsible for public health pest control throughout construction works. Food residue and debris left in a finished kitchen work against that.
Our perspective: clean for the finish, not just the look
In our experience in Dubai, the damage in a post-renovation kitchen rarely comes from dirt. It comes from the cleaning. A strong solvent applied in a hurry to remove a sticker takes the sheen off a lacquered door. An acid meant for grout haze marks a stone worktop. A dry cloth drags dust across a fresh splashback.
So we start by identifying the surfaces. We work from dust to grease to adhesive, with specialized equipment such as industrial vacuums, and we choose the product for each material instead of using one chemical everywhere. We also look past the visible kitchen: the vents, the hood, the floor edges and the corners where dust collects and returns.
Our advice to homeowners and managers is simple. Do not let the final clean be an afterthought squeezed in on handover day. Book it as the last step of the project, and keep the person who signs off the work involved.
— Qadir
Getting the kitchen cleaned by our team
If you would rather hand the job to specialists, our deep cleaning services include post-construction deep cleaning and move-in/move-out cleaning for homes, offices and warehouses across Dubai. We offer free consultations and same-day scheduling, and our staff are licensed. Tell us what was renovated and which surfaces are in the kitchen, and we will plan the work around them. If you are unsure which service you need, see post-construction cleaning versus deep cleaning. You can also reach us through our main site.
A final checklist before you sign off
No dust film when you run a clean finger along tops of wall units, inside drawers and on window sills.
No tacky patches on cabinet fronts, handles or splash backs.
No glue rings, tape ghosts or sticker outlines on glass, steel or appliances.
No haze on tiles or grout under raking light.
Hood, filters and vents are clean, and the AC runs without a dusty smell.
A clean white cloth wiped over the worktop comes away clean.
For a wider view of what a finished job includes, a post-renovation cleanout checklist is a good cross-check against your contractor’s scope.
FAQ
What dissolves grease and disinfects at the same time?
No single everyday product does both well on a dirty surface. Clean first with warm water and dish soap or a degreaser to lift the oil, then apply a suitable disinfectant if you need one. Professionals work in this two-stage sequence, because disinfectant cannot reach through grease.
How do I remove sticky dust residue from cabinets?
Vacuum the dust first with a fine-filter machine, then wipe with a damp microfiber cloth and warm soapy water. A sticky feel usually means a grease and dust film, so rinse with a clean cloth and dry. Keep vinegar and ammonia away from finished wood.
What removes adhesive residue without damaging the surface?
Peel off as much as you can first, then use a solvent suited to that specific material and test it on a hidden spot. Painted metal, glass and stone each react differently, and the wrong solvent can cause peeling or etching. If you have natural stone or lacquered doors, ask a professional before trying anything strong.
When should the final kitchen clean be scheduled in a Dubai renovation?
After the last trade has left and all sanding, drilling and tiling is done. Cleaning earlier means dust settles again. Our renovation timing guide explains how to plan around it.
Why do my wood cabinets still feel sticky after cleaning?
Usually a thin grease film remains, or a cleaner left residue. Wash again with a small amount of dish soap in warm water, rinse the cloth often and dry the surface. If the stickiness returns, the finish itself may be breaking down, which is a job for a joiner rather than a cleaner.