Proper preparation, including cleaning, patching, and priming walls, is essential for professional-looking paint jobs. Choosing the right paint finish, tools, and following a precise step-by-step process ensures smooth, durable results. Patience in applying multiple thin coats and careful tape removal ultimately leads to lasting, high-quality wall finishes.
Most homeowners underestimate how much technique goes into a clean paint job. You roll on the first coat, it looks streaky, the tape bleeds, and suddenly a weekend project feels like a mistake. The good news is that nearly every wall painting frustration comes down to skipping steps or using the wrong method. Get those right, and you get professional-looking results without hiring anyone. These wall painting tips walk you through everything from prep and color selection to the final coat, with real techniques that actually work.
Cleaning, repairing, and priming walls before painting determines how well paint adheres and how long it lasts.
Match tools to surface
Roller nap, brush type, and paint finish should match your specific wall texture for even, smooth coverage.
Paint in the right order
Roll large areas first, then cut in edges with a brush to blend strokes while the paint is still wet.
Two thin coats beat one thick coat
Applying multiple thin coats prevents ridges, drips, and uneven coverage far better than one heavy application.
Pull tape before paint dries fully
Removing painter’s tape at an angle before the paint hardens gives you the sharpest, cleanest lines.
1. Essential wall painting tips for prep work
Most people want to skip straight to color. That’s the single biggest reason DIY paint jobs look amateur. Prep work is where professional results are actually built, and it takes more time than the painting itself. That’s not a warning to scare you off. It’s just the truth.
Start by clearing the room as much as possible. Move furniture to the center and cover it with drop cloths. Lay canvas drop cloths (not plastic, which gets slippery) on the floor around the perimeter. Remove outlet covers, switch plates, and any wall fixtures.
Next, inspect every inch of the wall surface. For wood holes, Bondo glazing putty works best; use quick-dry caulking for gaps near trim; and spackle handles small dents and nail holes in drywall. After patching, sand everything smooth using 120 to 180 grit for walls and 180 to 220 grit for trim. The sanding step matters more than most people think because paint magnifies imperfections rather than hiding them.
Clean the walls with a damp cloth or a mild TSP (trisodium phosphate) solution to remove grease, dust, and any residue. Walls in kitchens and bathrooms especially need this step. Paint will not bond well to dirty surfaces, full stop.
Preparation checklist before you pick up a brush:
Drop cloths on floors and furniture covered
Holes and cracks patched and sanded smooth
Walls cleaned and fully dry
Outlet covers and switch plates removed
Painter’s tape applied to trim and ceiling edges
Primer applied if switching to a drastically different color, painting new drywall, or covering stains
Pro Tip:Apply primer tinted to roughly match your final paint color. This reduces the number of topcoats you need, especially when going from dark to light or painting over fresh repairs.
2. Choosing paint, finishes, and the right tools
Color selection feels like the fun part, but it’s also where people make the most expensive mistakes. A color that looks perfect on a small swatch card can look completely different once it’s on a full wall under your room’s specific lighting. Matching physical samples of your three dominant fixed elements (flooring, upholstery, and countertops) eliminates roughly 80% of unsuitable paint options before you ever leave the store. Always test paint samples directly on your wall and observe them at different times of day.
Paint finish is equally important and often ignored. Here’s a practical breakdown:
Matte or flat: Hides imperfections well, great for ceilings and low-traffic areas, but harder to clean
Eggshell: Slight sheen, easy to wipe down, works well in living rooms and bedrooms
Satin: More durable and moisture resistant, a good fit for kitchens, bathrooms, and hallways
Semi-gloss or gloss: Best for trim, doors, and cabinets where you need maximum durability
For rollers, nap length determines how well the roller picks up and deposits paint on your specific surface. A 1/4 to 3/8 inch nap suits smooth walls, while a 3/8 to 1/2 inch nap handles lightly textured drywall much better. The wrong nap leaves lint or uneven texture, so this is not a detail to guess on.
Use an angled brush (2 to 2.5 inches wide) for cutting in around edges, trim, and corners. Cheap brushes shed bristles into wet paint and create drag marks. Spend a little more on a quality synthetic bristle brush and it will pay for itself in results and longevity.
Pro Tip:Add a paint conditioner like Floetrol to your latex paint, especially in warm or humid climates like Dubai. It slows drying time just enough to level out brush strokes and roller marks, giving you a noticeably smoother finish.
3. Step-by-step painting process
A clear sequence makes the difference between a professional result and a frustrating one. This is where most wall painting process tutorials get vague. Here is the exact order that works.
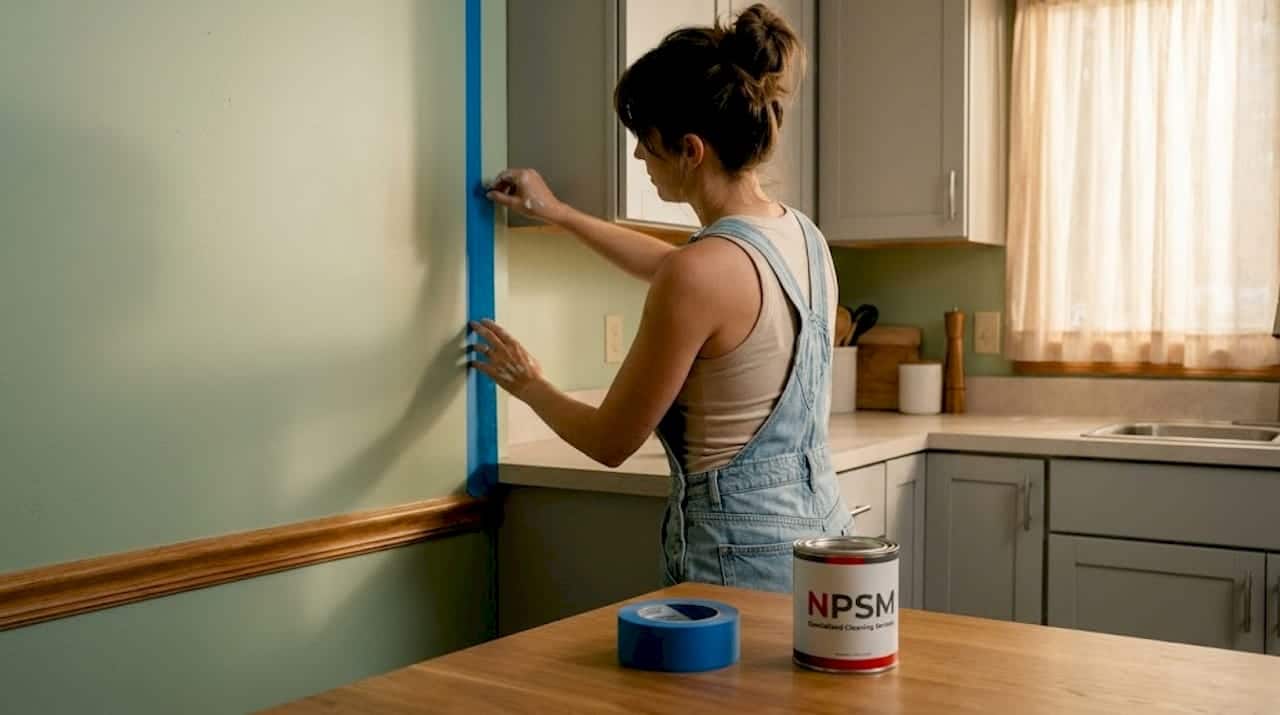
Apply painter’s tape carefully. Press the tape firmly along all edges where the wall meets trim, ceiling, or adjacent walls. Run a putty knife or your fingernail along the tape edge to press it fully flat. Loose tape is the number one cause of bleed-through.
Seal the tape edge. Paint a thin line of your base color (or the trim color) right along the tape edge first and let it dry. This seals any gap, so when you apply the wall color, the tape edge stays crisp with no bleed.
Roll large wall surfaces first. Load your roller evenly, roll off excess on the tray grid, and work in a “W” or “M” pattern, then fill in without lifting the roller. Rolling before cutting in lets you blend brush strokes into wet roller paint at the edges for a seamless finish.
Cut in edges while the wall paint is still wet. Use your angled brush to paint the border areas. Because the rolled section is still wet, the brush strokes blend naturally instead of showing as a distinct line.
Maintain a wet edge throughout. Never let the leading edge of your rolled section dry before overlapping the next stroke. Overlapping dry paint creates visible lap marks that no second coat will fully hide.
Apply two thin coats, not one thick one. Two thin coats prevent drips, ridges, and uneven sheen. Let the first coat dry fully (typically 2 to 4 hours for latex paint) before applying the second.
Control your environment. Ideal painting temperature is between 50°F and 85°F. Avoid painting in direct sunlight or with fans blowing directly on the wall, as both cause paint to dry too fast and prevent proper leveling.
Pro Tip:Line your paint tray with a garbage bag before pouring. When you take a break, seal the roller in a plastic bag to keep it fresh for hours without cleaning it mid-job. This saves significant time on longer projects.
4. Common problems and how to fix them
Even with good preparation, things go wrong. Knowing how to troubleshoot quickly prevents a small issue from becoming a redo.
Paint bleed under tape usually happens because the tape wasn’t pressed down firmly or the tape edge wasn’t sealed. Let the paint dry completely, then use a fine artist’s brush with the base color to correct the line by hand.
Streaks and roller marks generally come from a dry roller, the wrong nap length, or letting paint dry between passes. Add more paint to the roller, work faster, and keep that wet edge going.
Consulting a professional before painting over walls with peeling paint or mold stains is not optional. Paint will not adhere to those surfaces, and applying paint over mold is a health risk, not a cosmetic fix.
Poor adhesion and rough patches after drying mean the surface was not cleaned or primed properly. Sand the rough area lightly, clean it, spot prime, and repaint.
Drips and runs happen from overloaded brushes or rollers. Catch them while wet by smoothing them out with a brush. If they dried, sand them flat with fine grit sandpaper, wipe clean, and apply a thin touch-up coat.
For touch-ups in general, use the original paint and feather the edges by blending outward from the repair point. A hard stop in the touch-up looks worse than the original damage.
5. Final finishing and maintenance for lasting results
Getting to the last coat is satisfying, but the final steps determine whether your work holds up for years or starts looking worn in months.
Remove painter’s tape before the paint fully hardens. Pulling tape at an angle while the paint is still slightly tacky gives the cleanest lines. Waiting until paint is completely hard causes it to peel with the tape.
Use a clear protective sealant on high-wear surfaces like hallways, kids’ rooms, or areas around light switches. A water-based topcoat adds durability without changing the color.
Clean painted walls gently. Use a soft sponge with mild soap and water. Avoid abrasive scrubbers, especially on matte finishes. Satin and eggshell finishes handle regular cleaning better than flat paint.
Plan touch-ups as part of ongoing maintenance. Keep a small sealed jar of each paint color with the room name labeled on it. This makes touch-ups quick and accurate, especially for high-traffic areas that see regular scuffs.
Repaint on a schedule rather than waiting for visible damage. Most interior walls benefit from a fresh coat every 5 to 7 years. High-traffic areas may need attention every 3 to 4 years.
My honest take after years of watching paint jobs go wrong
I’ve worked on interior spaces long enough to notice one pattern that never changes: people rush the prep and wonder why the result disappoints them.
The most common misconception I see is that better paint automatically means better results. It doesn’t. Premium paint on a poorly prepped wall still looks bad. But a well-prepped wall with mid-range paint looks great. The surface is the foundation. Everything else is secondary.
The other thing most articles won’t say directly is that patience is the actual skill in painting. Not technique. Technique can be learned in an afternoon. Patience, specifically the patience to let coats dry fully, to press tape down properly, and to apply two coats instead of trying to muscle one thick coat into coverage, separates good outcomes from frustrating ones.
If you are a renter, I’d also push back on the assumption that painting is too much effort. A properly done paint job using a quality finish actually makes walls easier to clean and maintain. That matters when you want your security deposit back.
Start with one room. Follow the sequence. Give yourself a full weekend rather than an afternoon. You’ll be surprised how professional the result looks when you respect the process.
— Qadir
Ready to go beyond paint? Let Floorpolishing handle the rest
A freshly painted wall looks its best when the floors underneath it are just as sharp. At Floorpolishing, we offer professional interior painting services for villas, apartments, and offices across Dubai, with teams that bring the same preparation-first approach you just read about. For complex jobs with wall damage, old paint layers, or large commercial spaces, having a professional handle it saves time and delivers results that hold up longer.
We also restore and polish marble, granite, wooden, vinyl, and tile floors to complement your newly painted walls. Whether you want to explore top-rated painting options or need a full interior refresh including epoxy and floor polishing services, Floorpolishing covers both sides of the room. Contact us to find out what your space needs.
FAQ
What is the most important step in wall painting?
Preparation is the most critical step. Cleaning walls, repairing surface damage, and applying primer creates the foundation that makes paint adhere evenly and last longer.
How many coats of paint does a wall need?
Most walls need two thin coats for full, even coverage. One thick coat causes drips, uneven sheen, and ridges that are difficult to fix after drying.
When should I remove painter’s tape after painting?
Remove painter’s tape while the paint is still slightly tacky, not fully dry. Pulling it at an angle at this stage prevents the tape from lifting dried paint and ruining crisp edges.
How do I fix streaks or roller marks on a painted wall?
Keep a wet edge while working to prevent streaks from forming. If marks appear after drying, lightly sand the area, wipe clean, and apply a thin second coat using consistent roller pressure.
Should I use a primer before painting?
Use primer when painting new drywall, covering a dark color with a lighter one, or painting over stains and repairs. Primer improves adhesion and reduces the number of topcoats needed for full coverage.